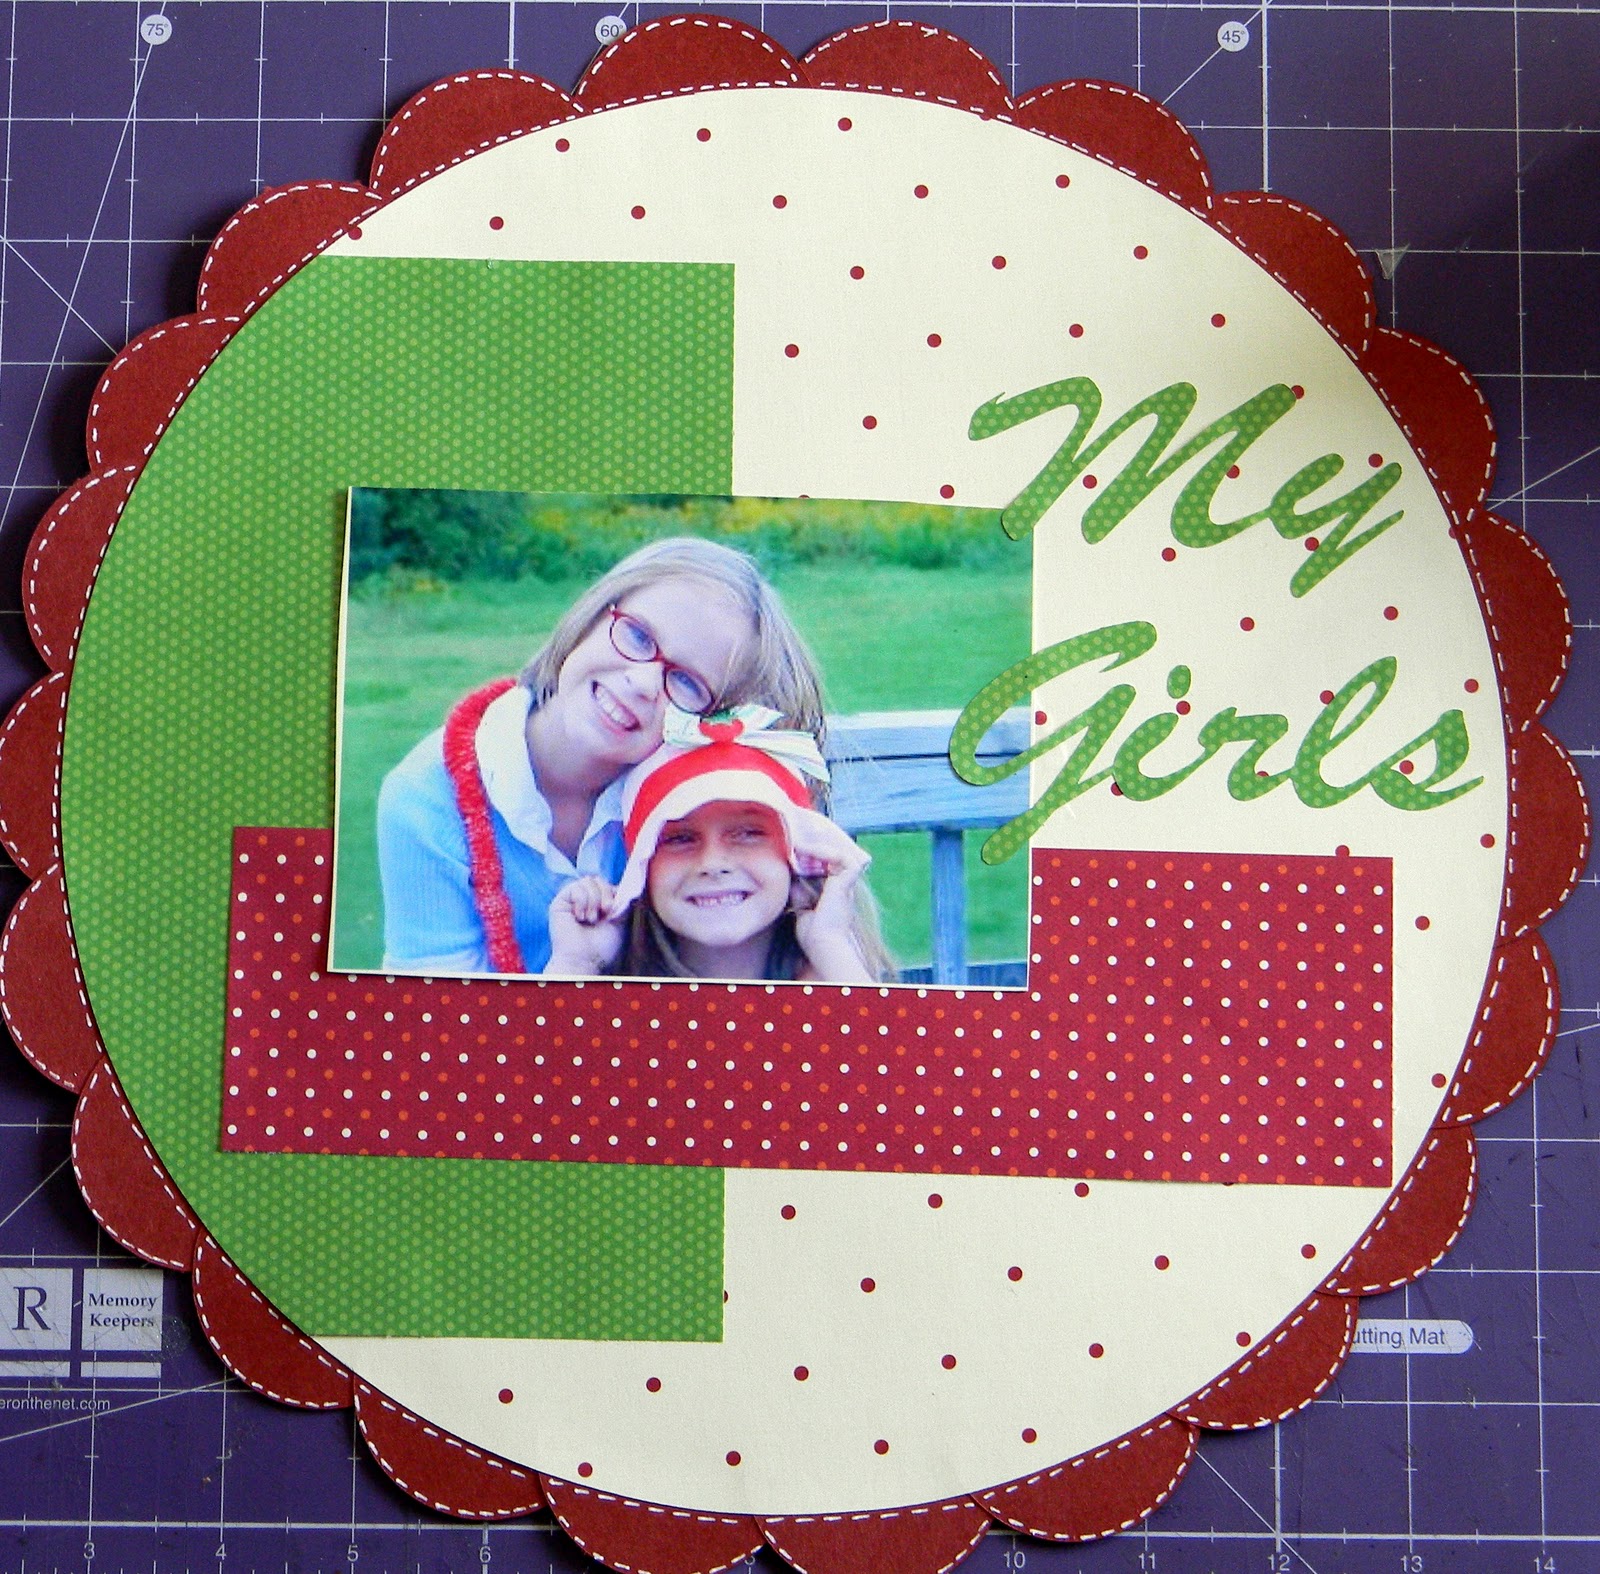
Just wanted to share some recent purchases I picked up because nobody in my 'real life' can understand the excitement associated with the purchase of new supplies and a new lo I created. I love this time of year because I always get a chance to pick up some new supplies that I have added to my want list from the previous year.

I got my first sets of Peachy Keen Stamps, super excited but I may have ordered the wrong size of the critter set. I went with medium but I think large would have been better considering the size of the cuts I usually make. I'll make it work or possibly place one more order, lol! I got Birthday Bash and Florals Embellished for cricut cartridges. Yeah! I can cross those two of my list. I have wanted an embossing machine for a year now and was aiming for a cuttlebug, unfortuneately Michaels or Walmart did not have one. So being the unpatient crafter that I am I picked up the Sizzix Texture Boutique and a bunch of embossing folders that were on sale so I could not resist. The colorbok cardstock from Walmart ($5) will be used for cricut cuts being that it is black, brown & white. I find myself reaching for these colors on a regular basis now especially when using the Create a Critter cart. I am so happy I got a tripod. Hopefully my lo pics will come out better using this as oppose to my hand that seems to shake uncontrollably everytime I try to take a pic. Any other time no shaking what so ever. Figures, right? So enough with the I gots and on to a lo using my stash, that I entered in the Week #3 February Sketch challenge over at
http://www.scrapbook.com/

I created this Lo using Plantin Schoolbook for the circles. The scalloped piece behind large circle is actually 2 inch circles, cut in half and adhered evenly around the larger circle, which was cut using fit to page feature (11 inches) on my Cricut Expression. The large circle pp is from a K&Company Christmas Stack called BW Evergreen, the other pps are from DCWV and the cs is Recollections. I added faux stitching using a Gelly roll white pen. This is my got to technique right now. Every lo I have made gets the stitching treatment lately. To get the green dotted paper to layer perfectly, I put the 12inch by 4 inch scrap piece on the cutting mat and cut another circle the same exact size as the large one, I then just trimmed the top and bottom off to the size I wanted it to be and adhered it down. The other red pp was also a scrap I had it was a little larger so I just trimmed it down to the size I liked. For the title I used Scal2 (am new to this my husband got it for me for my birthday recently I love it so far). I love this photo of my girls. I oringinally had it on an 8 1/2 by 11 lo I created early on in my scrapbooking days but I thought it deserved a better presentation. Thank goodness I originally adhered it using a glue stick so it was half falling off anyway and was easy to take apart without any damage. I do not recommend using any type of gluestick unless you think you may want to take your lo apart in the future. Thanks for checking my blog. Please feel free to leave a comment and I will be back to post some los using my new scappy supplies soon. Have a great Day!!!!!
Sarah